Introduction
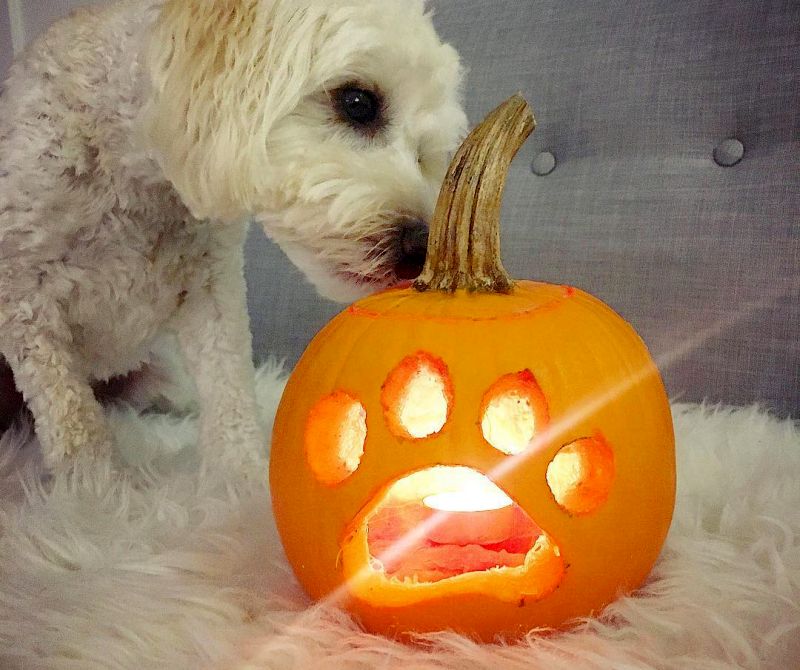
Carving pumpkins has become a popular tradition during Halloween, but have you ever considered involving your furry friend in the festivities? Dog pumpkin carving is a creative and fun way to celebrate the season with your canine companion. This article will provide you with tips, ideas, and step-by-step instructions on how to create adorable dog-themed pumpkin carvings.
Choosing the Perfect Pumpkin
Before you begin carving, it's important to select the right pumpkin. Look for a pumpkin that is large enough to carve a detailed design but not too heavy for easy handling. Ensure the pumpkin has a flat bottom to prevent it from rolling or tipping over. A smooth and blemish-free surface will make carving easier.
Gathering the Necessary Tools

To create your dog pumpkin carving masterpiece, you'll need a few essential tools. Grab a sharp serrated knife or pumpkin carving kit, a large spoon or scoop for scooping out the pumpkin's insides, and a marker or pen for drawing your design. Additionally, keep some newspaper or a plastic tablecloth handy to catch the mess.
Preparing the Pumpkin

Start by cutting a circular hole around the stem of the pumpkin. Make sure the hole is large enough to comfortably fit your hand and reach inside. Remove the pumpkin's top, creating a lid, and set it aside. Next, grab the spoon or scoop and carefully scrape out the pumpkin's seeds and stringy flesh. Clean the inside thoroughly to create a smooth surface for carving.
Choosing a Dog Design

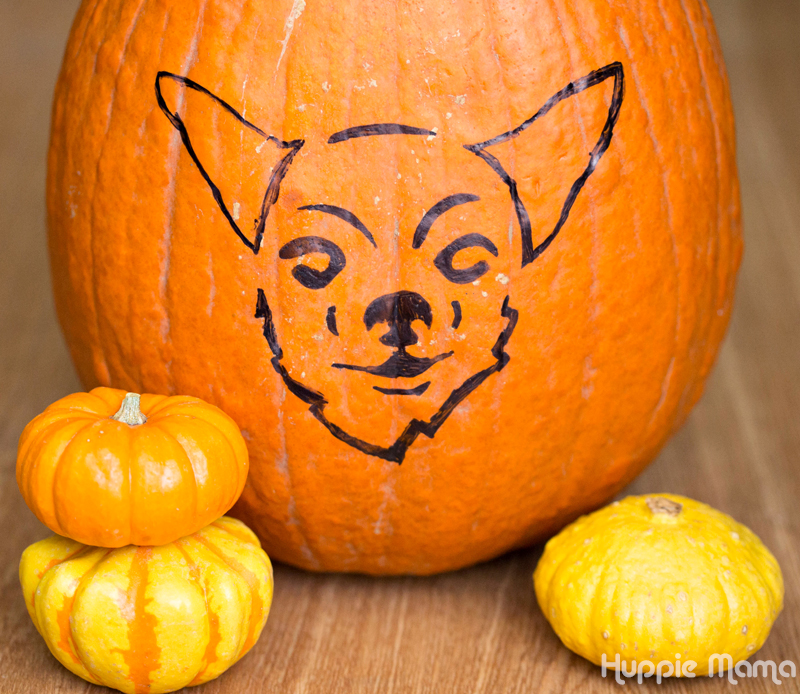
Now comes the fun part ??? selecting a dog design for your pumpkin. You can choose a generic dog face, your own dog's breed, or even a famous cartoon dog character. Look for printable stencils online or create your own by sketching the design on a paper. Once you have the design ready, trace it onto the pumpkin's surface using a marker or pen.
Carving the Design

With your design marked on the pumpkin, it's time to start carving. Use the serrated knife or pumpkin carving tools to carefully cut along the outline of your design. Take your time and make slow, deliberate cuts to avoid any accidents. Start with the larger areas and gradually move to the smaller details. Remember to keep your fingers and hands away from the blade at all times.
Adding Details and Depth

To make your dog pumpkin carving stand out, consider adding extra details and depth. You can lightly scrape away the pumpkin's inner flesh in certain areas to create varying shades. This will give your design a three-dimensional effect. Pay attention to the dog's eyes, nose, and mouth ??? these features can be emphasized by carving them slightly deeper.
Lighting Up Your Creation

Once you've finished carving your dog pumpkin, it's time to illuminate your creation. Place a small LED candle or a battery-operated light inside the pumpkin to bring your design to life. Avoid using real candles as they can be a fire hazard. Turn off the lights in the room and watch as your dog pumpkin carving glows with a spooky yet adorable ambiance.
Preserving Your Dog Pumpkin Carving

To extend the lifespan of your dog pumpkin carving, you can take a few steps to prevent premature decay. Apply a thin layer of petroleum jelly or vegetable oil to the cut edges of the pumpkin to seal in moisture. Keep your pumpkin away from extreme heat or cold, as both can speed up the decomposition process. If possible, refrigerate your pumpkin when not on display.
Conclusion
Dog pumpkin carving is a delightful activity that allows you to showcase your creativity while involving your furry friend in Halloween festivities. With the right pumpkin, tools, and design, you can create a unique and eye-catching dog-themed pumpkin carving. Remember to have fun, take your time, and prioritize safety during the carving process. Happy carving!